
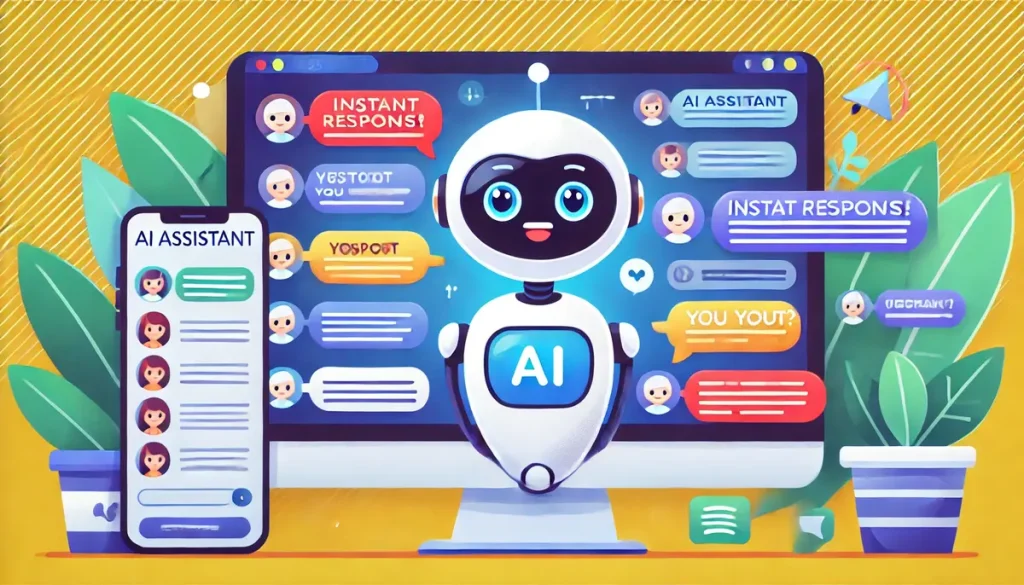
How have AI chatbots transformed online interactions in today’s digital landscape? These intelligent assistants have revolutionized communication, providing instant responses and enhancing user experience. Did you know that 85% of customer interactions will be handled without human agents by 2025? Integrating a GPT chatbot into your website or messaging channels can offer numerous benefits, including improved customer engagement and efficient handling of inquiries.
This guide will walk you through the process of deploying a custom OpenAI Assistant. Are you ready to understand the basics of OpenAI Assistants, configure, and deploy your chatbot? By the end of this tutorial, you’ll have a fully functional AI assistant ready to enhance your digital presence, ensuring your business stays ahead in the competitive digital landscape.
Read More: How to Get the Most from an AI Executive Assistant
Understanding OpenAI Assistants
OpenAI Assistants are sophisticated AI-powered chatbots designed to handle a variety of tasks, from answering customer queries to providing personalized recommendations. These assistants are capable of understanding natural language, making interactions feel more human-like and engaging.
Using OpenAI Assistants for customer engagement offers several benefits. They can operate 24/7, ensuring that your customers receive prompt responses at any time. Additionally, these assistants can handle multiple conversations simultaneously, increasing efficiency and reducing wait times. The ability to learn and improve over time makes them a valuable asset for any business looking to enhance its customer service.
Getting Started with OpenAI Assistants
Creating your own OpenAI Assistant is a straightforward process. To begin, you’ll need to sign up on the OpenAI platform. Once registered, you can start building your assistant by providing the necessary information and configuring its settings.
One of the critical steps in this process is obtaining your assistant ID and creating an OpenAI API Key. These credentials are essential for integrating the assistant into your chosen platform. The API key acts as a bridge between your assistant and the platform, enabling seamless communication and interaction.
Simplifying Integration with Templates
Using templates can significantly simplify the process of deploying a GPT chatbot. Templates provide a pre-configured setup that you can customize to suit your needs, saving time and effort. A specialized template for GPT chatbot integration can make the deployment process more efficient and less prone to errors.
These templates typically include all the necessary components, such as dialogue flows, response patterns, and integration settings. By using a template, you can ensure that your chatbot is set up correctly and ready to use with minimal configuration.
Step-by-Step Guide to Deploying Your GPT Chatbot
Create Your OpenAI Assistant
Start by creating your OpenAI Assistant on the OpenAI platform. Follow the instructions provided to configure your assistant’s settings and capabilities. This process involves several key steps to ensure your assistant is tailored to your needs.
First, log in to your OpenAI account and navigate to the assistant creation section. Here, you will provide essential details such as the assistant’s name, description, and initial capabilities. It’s important to define the scope of your assistant’s functions to match your specific requirements.
Once you have configured the basic settings, you will be prompted to copy the assistant ID. This unique identifier is crucial for integrating the assistant with other platforms. Additionally, you will need to create an API key. This key allows secure communication between your assistant and the platforms where it will be deployed.
Download the Template
Next, obtain the template from a template gallery. These galleries often provide a variety of templates designed for different use cases. Choose a template that best fits your needs and download it to your computer.
Using a template can offer several benefits:
- Time-saving: Pre-configured settings reduce setup time.
- Ease of use: Simplifies the integration process.
- Consistency: Ensures that all necessary components are included.
To download a template, visit a trusted template gallery and browse the available options. Once you have selected a suitable template, click on the download button and save the file to your device. This template will serve as the foundation for your chatbot, containing pre-built dialogue flows and response patterns.
Import the Template into Your Chosen Platform
Once you have the template, the next step is to import it into your chosen platform. This platform could be a website, a messaging channel like WhatsApp or Facebook Messenger, or any other digital space where you want to deploy your assistant.
Follow these steps to import the template:
- Access the platform: Log in to the platform where you want to deploy your assistant. Ensure you have the necessary permissions to make changes.
- Import the template: Use the import function to upload the template file. This process may vary depending on the platform, so refer to the platform’s documentation for specific instructions.
- Publish the bot: After importing the template, publish the bot to ensure the latest version is deployed. This step is crucial to make the chatbot live and accessible to users.
By importing the template, you can quickly set up the foundational elements of your chatbot. This approach saves time and ensures that your chatbot is configured correctly from the start.
Configure Your Bot
After importing the template, you need to configure your bot. This involves providing the Assistant ID and API key you obtained earlier. If you don’t have an API key, create one through the OpenAI platform.
During this one-time setup process:
- Enter the Assistant ID: Ensure your bot can communicate with the OpenAI Assistant. This ID links your chatbot to the specific assistant you created.
- Input the API key: Enable secure interaction between your bot and the OpenAI platform. The API key acts as a password, allowing your bot to access the assistant’s capabilities.
Configuration settings may include defining response patterns, setting up dialogue flows, and customizing the assistant’s personality. Take the time to fine-tune these settings to match your brand’s voice and the specific needs of your audience.
Share or Deploy Your Assistant
With your bot configured, you’re ready to share or deploy your assistant. Use the provided URL to share your GPT chatbot on various platforms. Depending on your needs, you can deploy the assistant on personal or business websites, or integrate it with messaging channels like WhatsApp and Facebook Messenger.
Deployment options include:
- Website integration: Embed the chatbot on your website for instant customer support. This involves adding a snippet of code to your website’s HTML.
- Messaging channels: Deploy the assistant on platforms like WhatsApp for seamless communication. Each platform may have specific integration steps, so refer to their documentation for guidance.
By deploying your assistant, you make it accessible to your audience, providing them with a powerful tool for interaction and support.
Advanced Features and Customization of OpenAI Assistant
Integrating with CRM and Other Systems
Enhancing Functionality with CRM Integration
Integrating your OpenAI Assistant with a Customer Relationship Management (CRM) system can significantly enhance its functionality. This integration allows the chatbot to access and update customer information in real time, providing a seamless and personalized experience for users.
For instance, when a customer interacts with the chatbot, their queries and interactions can be logged into the CRM system. This enables your sales and support teams to have a comprehensive view of customer interactions, helping them to provide better support and personalized follow-ups.
Steps to Integrate with CRM
To integrate your OpenAI Assistant with a CRM system, follow these steps:
- Select a CRM Platform: Choose a CRM system that supports API integration with chatbots. Popular options include Salesforce, HubSpot, and Zoho CRM.
- API Setup: Obtain the API credentials from your CRM system. This usually involves creating an API key or OAuth token.
- Configure the Assistant: In your OpenAI Assistant’s configuration settings, input the CRM API credentials. Ensure the assistant can read and write data to the CRM.
- Test the Integration: Conduct thorough testing to ensure data flows correctly between the chatbot and the CRM system.
Benefits of CRM Integration
- Enhanced Customer Insights: Gain a 360-degree view of customer interactions and preferences.
- Streamlined Operations: Automate data entry and reduce manual tasks for your support team.
- Improved Customer Engagement: Provide personalized responses based on CRM data, improving customer satisfaction.
Multi-Language Support
Expanding Reach with Multi-Language Capabilities
Supporting multiple languages in your OpenAI Assistant can significantly broaden your reach, allowing you to cater to a global audience. This feature is particularly beneficial for businesses with diverse customer bases or those looking to expand into new markets.
Configuring Multi-Language Support
To configure multi-language support for your chatbot:
- Identify Languages: Determine the languages you want your assistant to support based on your target audience.
- Language Models: Utilize OpenAI’s language models that support the identified languages. Ensure the models are updated and capable of handling the languages fluently.
- Translate Dialogues: Translate all predefined dialogues and responses into the chosen languages. Use professional translation services to maintain accuracy and cultural relevance.
- Dynamic Language Switching: Implement a feature that allows users to switch languages during a conversation seamlessly.
Benefits of Multi-Language Support
- Increased Accessibility: Make your services accessible to non-English speaking users.
- Improved User Experience: Provide a more comfortable and relatable interaction for users in their native language.
- Competitive Advantage: Stand out in the market by offering multilingual support, attracting a broader customer base.
Advanced Analytics and Reporting
Using Data for Continuous Improvement
Advanced analytics and reporting are crucial for understanding how users interact with your chatbot and identifying areas for improvement. By leveraging data, you can refine your chatbot’s performance and enhance user satisfaction.
Key Analytics Metrics
Track the following metrics to gain insights into your chatbot’s performance:
- User Engagement: Monitor the number of interactions and unique users to gauge engagement levels.
- Response Accuracy: Measure the accuracy of the chatbot’s responses to ensure it is providing correct and relevant information.
- Conversation Flow: Analyze the flow of conversations to identify any drop-off points or areas where users may need additional assistance.
- User Satisfaction: Collect feedback from users to assess their satisfaction with the chatbot’s performance.
Setting Up Advanced Analytics
To set up advanced analytics for your OpenAI Assistant:
- Integrate Analytics Tools: Use tools like Google Analytics, Mixpanel, or custom-built solutions to track interactions.
- Define KPIs: Establish key performance indicators (KPIs) that align with your business goals and objectives.
- Dashboard Creation: Create a dashboard to visualize and monitor real-time data. Ensure it includes customizable reports and alerts for key metrics.
- Regular Reviews: Schedule regular reviews of the analytics data to make informed decisions on improvements and updates.
Benefits of Advanced Analytics
- Data-Driven Decisions: Use insights from data to make informed decisions on chatbot enhancements.
- Improved Performance: Continuously optimize the chatbot based on user interactions and feedback.
- Enhanced User Experience: Provide a more efficient and satisfying user experience by addressing pain points and improving response quality.
Customizing Responses
Tailoring Responses to Reflect Your Brand’s Voice
Customizing your OpenAI Assistant’s responses to reflect your brand’s voice and tone is essential for maintaining consistency and reinforcing your brand identity. Personalized and consistent messaging helps build trust and engagement with your audience.
Steps to Customize Responses
- Define Your Brand Voice: Clearly outline the tone, style, and personality you want your assistant to convey. Consider factors like formality, friendliness, and humor.
- Predefined Responses: Develop a set of predefined responses that align with your brand’s voice. Ensure these responses cover common queries and scenarios.
- Dynamic Personalization: Implement features that allow the assistant to personalize responses based on user data, such as using the user’s name or referencing past interactions.
- Regular Updates: Continuously update and refine the responses to reflect any changes in your brand’s messaging or user feedback.
Benefits of Customized Responses
- Consistent Branding: Maintain a consistent brand voice across all interactions.
- Enhanced Engagement: Provide more engaging and relatable interactions, increasing user satisfaction.
- Professional Image: Present a polished and professional image, enhancing your brand’s credibility.
Conclusion
Deploying a GPT chatbot can transform your digital interaction, providing efficient and engaging customer service. By following this step-by-step guide, you can seamlessly integrate an OpenAI Assistant into your website or messaging channels.
Utilizing advanced features such as CRM integration, multi-language support, and advanced analytics, you can enhance the functionality and reach of your assistant. Customizing responses to align with your brand’s voice further ensures a consistent and professional interaction with your users.